Corporate Workshops
Mocktails
Classes
about
Blog
Get in touch
Blog
Mocktails
How to Build a Non-Alcoholic Bar Cart Pt. 2
Guide to Non-Alcoholic Spirits, Wines, Beer and Bitters to Build a Zero-Proof Bar Cart
How to Build a Non-Alcoholic “Bar Cart” Pt. 1
How to Use Pantry & Kitchen Staples to Build a Zero-Proof Bar Cart
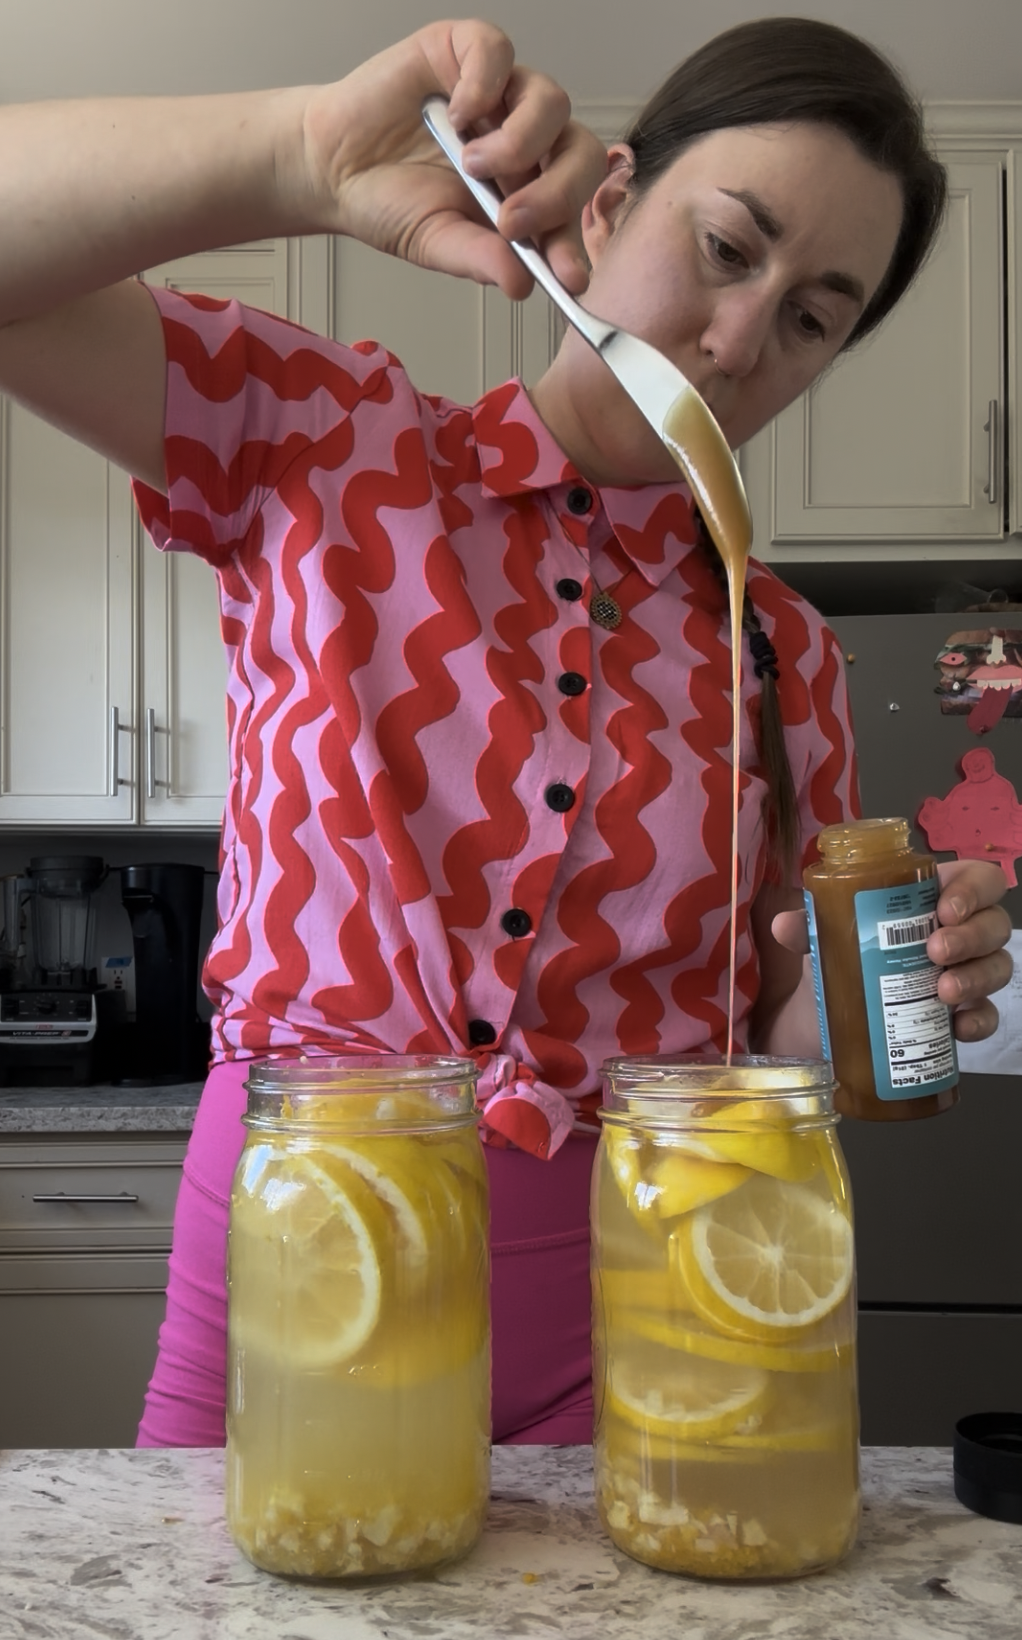
Summer Lemon Ginger Elixir: A Refreshing Immune Support Drink for Hot Days
Simple lemon, ginger, and honey recipe for immune health on hot days
The Ultimate Guide to Non-Alcoholic Beverage and Food Pairings
Discover how to pair non-alcoholic drinks with food. Explore tips for flavor, texture, and wellness to elevate your next meal without alcohol.
Hydrating Mocktails for Hot Days & High Energy
Stay energized and focused with functional mocktails designed to hydrate, replenish electrolytes, and support wellness all summer long.
Mocktail Moments: Creating Your Own Wind-Down Ritual After Work
How an After-Work Mocktail Can Help You Unplug, Recharge, and Set Healthy Boundaries
Tea Party-Inspired Mocktail with Earl Grey Tea
A nostalgic mocktail inspired by childhood tea parties, jam cookies, and a splash of grown-up flavor.
DIY Herbal Spritzers
Make delicious herbally infused spritzers with medicinal herbs.
Featured in The Jewish News: "Mocktail Expert Shakes Up Purim Tradition With a Hamantaschen Spritz"
Article from the The Jewish News featuring yours truly!
The Mocktail Movement: Revolutionizing Corporate Culture, One Drink at a Time
Transform workplace culture with the Mocktail Movement: promoting inclusivity, wellness, and social responsibility through non-alcoholic team-building experiences.
Why Vinegar Deserves a Spot in Your Mocktail Recipes
Elevate your mocktail game with vinegar: discover how its tangy flavor and health benefits can transform your alcohol-free cocktails into complex, satisfying drinks.
All About Non-Alcoholic Beverages: Elixirs and Mocktails
New to mocktails and elixirs? Here's all you need to know to get started.
Strawberry Infused Vinegar & Summer Mocktails
Looking to do something different with your strawberries? Make strawberry infused vinegar and add it to your mocktails.